
Table of Contents
Why Door Panels Are No Longer “Simple Covers” in Modern Vehicles
If you’ve ever worked on a modern car interior, you probably already know this: door panels are no longer just plastic covers you can pop off in a few seconds.
Today’s vehicle interiors are tightly engineered systems. Behind a door panel, you’ll usually find layered wiring harnesses, airbag-related components, moisture barriers, and multiple types of hidden fasteners. Everything is designed to stay firmly in place while still being serviceable—at least in theory.
The reality is different. Once you start removing a panel without the right approach, things can go wrong quickly: clips snap, trim edges crack, or the panel doesn’t sit properly when reinstalled.
That’s exactly where a car door panel removal tool becomes less of an option and more of a necessity.
The Hidden Structure Behind a Door Panel (What Most People Don’t See)
Before talking about tools, it helps to understand what you’re actually dealing with.
Most door panels are held in place by a combination of:
- Internal plastic retaining clips around the perimeter
- Hidden screws near handles, armrests, or trim covers
- Slot-in upper hooks that secure the panel to the window frame
- Electrical connectors for switches, lights, or locks
What makes removal tricky is not just the number of fasteners, but their placement. Many of them are designed to “hide” stress points so the panel feels seamless when installed.
In practice, this means you are never just pulling one piece off—you’re releasing multiple locking points in a specific sequence.
Why Using the Wrong Tool Almost Always Causes Damage
A common mistake in both DIY garages and quick repair environments is using flat metal tools or improvised prying objects.
The problem is not just force—it’s how that force is applied.
When a rigid metal edge is inserted between the panel and door frame, pressure concentrates on a very small contact area. That leads to:
- Broken plastic clips that cannot re-seat properly
- Scratched interior trim surfaces
- Warped panel edges that create gaps after reinstallation
- Hidden stress fractures that appear later as rattling noise
A proper car trim removal tool kit avoids this by changing how force is distributed. Instead of cutting into the material, it slides and lifts across a wider surface area, allowing clips to release naturally.
It’s a simple difference in design, but it completely changes the outcome of the job.
How a Car Door Panel Removal Tool Actually Works (In Real Use)
On paper, these tools look basic. In real work conditions, their design is more intentional than it seems.
A typical removal process looks like this:
You start by identifying where the panel is still locked. Instead of pulling outward, a wedge-style tool is inserted between the panel and the door frame. The goal is not to force separation, but to gently shift the panel just enough for the clip to release its grip.
Once one clip releases, the surrounding tension reduces. From there, movement becomes progressively easier as you work along the edge.
What matters most here is control. The tool is not doing the work by force—it’s guiding the release point by point.
That’s why professionals rarely rely on a single tool shape. Different angles, depths, and clip types require different tool profiles.
Tool Types You’ll Actually Encounter in Real Workshops
Not all panel removal tools are used in the same way. In practice, most technicians rely on a small set of shapes rather than a single “universal” tool.
Common working tools include:
- Flat wedge tools for initial panel separation
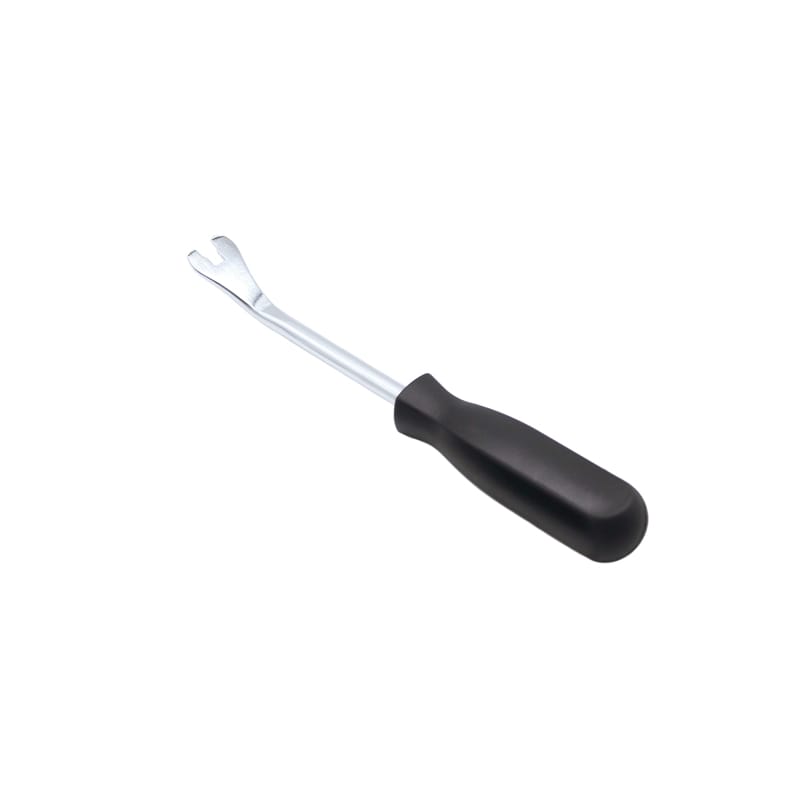
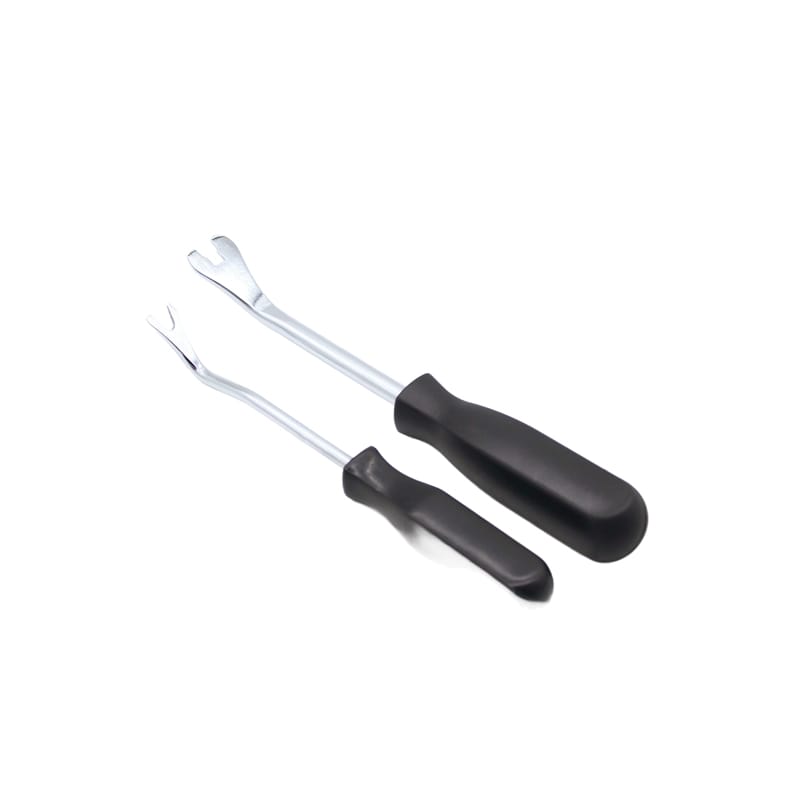
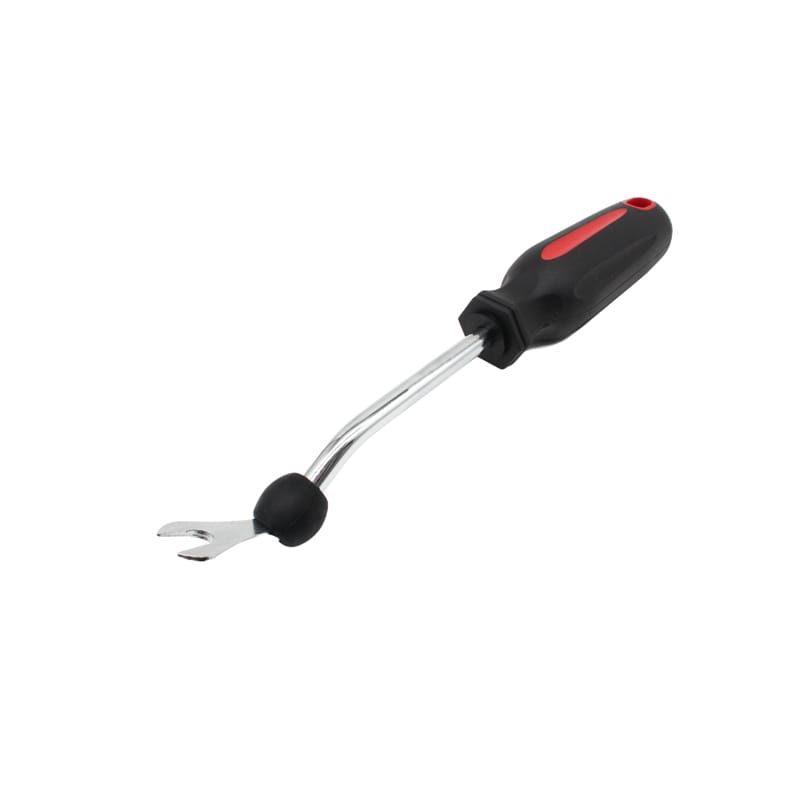
- Forked removers for push-pin style clips
- Thin pry tools for tight seam access
- Hook-style tools for recessed fasteners
- Clip pullers for stubborn or aged fasteners
Each of these serves a different mechanical purpose. For example, forked tools are not about force—they are about isolating a clip so it releases cleanly without bending the surrounding plastic.
Material also matters. Softer composite tools reduce surface marking, while reinforced versions are used when clips are tighter or more resistant.
The Mistakes That Usually Show Up After Damage Has Already Happened
Most panel damage doesn’t happen instantly—it shows up after reinstallation.
Here’s what typically goes wrong:
People assume all clips are released when only a few actually are. That leads to uneven pulling pressure. The panel comes off, but not cleanly. A few clips stay lodged in the door frame, while others detach from the panel itself.
Another issue is angle control. Pulling straight outward instead of following the panel’s natural release direction often causes edge cracking.
Temperature also plays a quiet role. In colder conditions, plastic becomes less forgiving. What should have been a flexible release point becomes a brittle failure point.
These issues don’t always appear immediately—but they often show up later as looseness or vibration noise.
A More Reliable Way to Remove Door Panels Step by Step
There is a consistent pattern followed in professional environments. It’s not complicated, but it is structured.
Start by confirming all hidden screws are removed. Many panels are “stuck” simply because one fastener was missed.
Next, begin at the lower edge rather than the center. The bottom area usually provides the first controlled entry point for a trim tool.
Once the first clip releases, continue gradually along the perimeter instead of jumping between points. This helps maintain even pressure distribution.
After all clips are disengaged, the panel should lift upward rather than outward. That upward motion releases the upper hooks that hold it in place.
Only after that step should electrical connectors be detached.
The key idea is sequence—not force.
Where These Tools Matter Most in Real Automotive Work
Car door panel removal tools are not limited to repair shops. They are used across multiple areas of automotive work:
- Interior system repairs and diagnostics
- Speaker and audio upgrades
- Window regulator and locking mechanism servicing
- Interior restoration and detailing work
- Manufacturing and assembly adjustments
In all of these cases, the requirement is the same: access without damage.
That’s why tool selection becomes part of the workflow, not just an accessory.
Why Manufacturing Quality Changes Everything in Practice
From a manufacturing standpoint, small differences in design show up clearly in real-world use.
Tool rigidity, edge shaping, and material balance all determine whether a clip releases cleanly or gets damaged.
Consistency is especially important in bulk usage environments. If one tool flexes too much while another is too rigid, the results become unpredictable.
This is also why OEM-oriented production has become more common in this category. Different vehicle platforms often require slightly different tool geometry to match their clip structures.
When design and manufacturing are aligned with real repair conditions, the difference is immediately noticeable during use.
Choosing a Tool Kit Without Overcomplicating the Decision
There’s no need to overthink selection, but a few practical points matter:
A useful kit should cover different clip types rather than repeating similar shapes. It should allow access in both open and tight spaces. And it should feel stable when pressure is applied—not flexible to the point of losing control.
Most importantly, the tools should support controlled release rather than force-based removal.
That’s the part that separates a usable kit from one that creates more problems than it solves.
A Final Note on Real-World Results
Door panel removal looks simple from the outside. In reality, it’s a controlled process built around understanding how clips, pressure points, and materials interact.
The tool itself doesn’t make the job difficult or easy—it just determines whether the process stays controlled or turns into damage.
When the right car door panel removal tool is used correctly, most of the risk disappears quietly in the background. What’s left is a clean removal process that doesn’t require correction afterward.
FAQ
What is a car door panel removal tool used for?
It is used to safely remove interior door panels without damaging clips, trim, or fasteners during car repair or maintenance.
Can I remove a car door panel without a special tool?
It is possible, but not recommended. Using improper tools often leads to broken clips, scratched surfaces, or panel misalignment.
What makes a car door panel removal tool different from a screwdriver?
Unlike screwdrivers, these tools have non-marring edges and wider contact surfaces to distribute pressure and reduce damage risk.
Are all car door panel removal tools the same?
No. They come in different shapes such as wedge tools, forked removers, and clip pullers designed for specific fastener types and access points.
How do I avoid damaging clips when removing a door panel?
Use the correct trim removal tool, apply gradual pressure, and release clips step by step instead of pulling the panel directly.