
Table of Contents
A magnetic parts tray is useful for keeping steel screws, nuts and washers from rolling off a work surface. Its biggest benefit is often simpler than that: it gives every removed part a visible home. It will not identify the screws for you, and it will not reliably hold every metal. A little organisation matters more than having the strongest magnet.
If you have ever finished a repair with one screw left over, or discovered that two almost identical screws have different lengths, use the tray as part of a record of the job. Separate the parts as they come off, note where the unusual ones belong, and keep the tray close enough that dropping a screw into it is easier than setting it beside the tool.
Before the first screw comes out
Clear a space for removed hardware rather than balancing the tray on the edge of the object you are repairing. The workpiece may need to be turned over, opened or carried elsewhere. A stable bench or trolley keeps the parts independent of those movements. Wipe the tray first so that yesterday's metal filings do not become today's mystery debris.
Take a photograph of the assembled part. This is particularly helpful when a cover uses several screw lengths, when a bracket shares a bolt with another component, or when a washer is hidden under a head. A photograph records positions; the tray holds the pieces. Neither replaces the other. For a simple job with four identical screws, no elaborate labelling system is needed. For a larger job, plan the separation before the first pile forms.
Place a small container beside the magnetic tray for items that do not stick. Rubber plugs, plastic clips and some metal fasteners need a physical wall or a lid. Discovering that a part is nonmagnetic after you have carried the tray at an angle is an avoidable way to lose it.
What actually sticks to a magnetic tray?
Ordinary steel hardware is the most obvious match. Aluminium and brass generally will not be held by the magnet. Stainless steel is less predictable: some stainless fasteners respond strongly, some weakly and some hardly at all. “Metal” is therefore not a useful sorting rule. Place each unfamiliar part on the tray and see whether it is genuinely held before relying on that grip.
The tray itself may be described as stainless steel while a separate magnet underneath provides the attraction. That description does not mean that all stainless items will behave alike. Paint, dirt, a curved contact surface and a stack of other parts can also reduce effective contact. A long screw standing on its tip is easier to knock over than one lying flat.
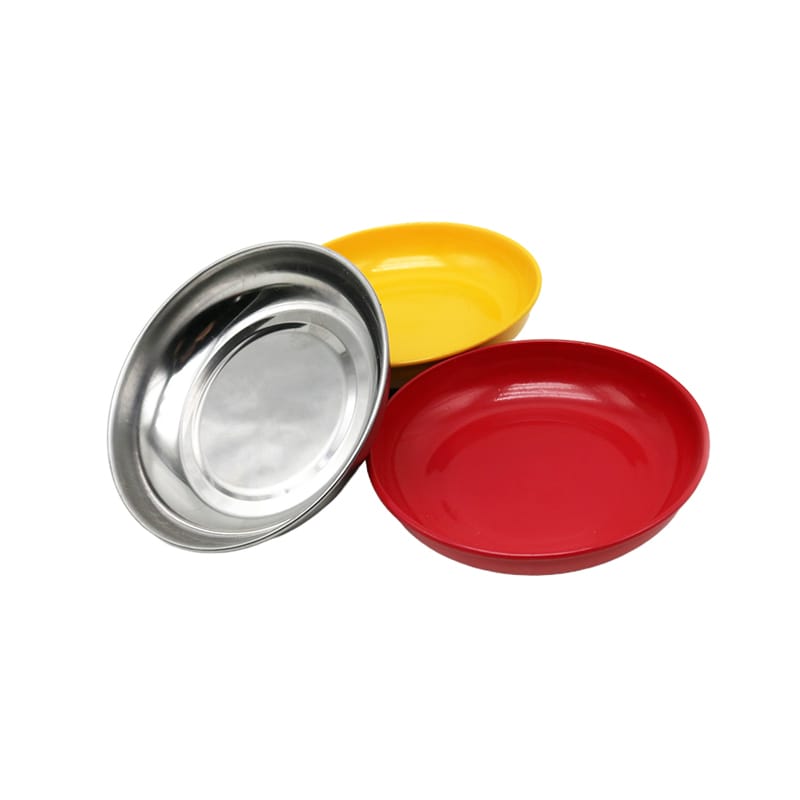
Think of the magnet as help against accidental movement, not as a lid. A sharp knock can still scatter a crowded collection. Tiny washers can slide under larger pieces, and hardware can cling together so that you lift two items when you meant to pick up one. Keep parts in a shallow, visible layer whenever possible.
Use the layout to tell you where parts belong
For a cover held by different-length screws, divide the job into positions: top, bottom, left and right. Use separate small trays or temporary labels outside the working surface. If all the screws fit comfortably in one tray, arrange them to resemble their locations on the cover and photograph the arrangement before moving anything.
Do not rely on that pattern through a long repair. A magnet may pull pieces together, and reaching for a washer can disturb the layout. Where length or position matters, a labelled compartment box or a piece of card with holes for the screws is more reliable. The magnetic tray can still serve as the collection point before the parts move into those positions.
Separate fasteners by assembly as well as appearance. Screws from a door handle and screws from the surrounding trim might look similar but belong to different materials. Combining them into one neat-looking pile creates a problem you will not notice until reassembly. “Handle,” “trim” and “bracket” are better labels than “small,” “medium” and “large.”
A practical example: removing a small machine cover
Suppose a cover has six perimeter screws, two shorter screws near a cable guide and one loose spacer behind a bracket. Put the perimeter screws in one group. Set the two short screws in a second group as soon as you recognise the difference. Put the spacer with its bracket hardware rather than leaving it on the bench because it does not look like a fastener.
When you remove the cable guide, photograph how the cable runs before moving it. The tray cannot remind you which side of a bracket the cable passed through. If a screw comes out with a washer stuck underneath, keep those pieces together until you know whether the washer belongs in that position. Do not casually transfer all washers into a separate pile just to make the tray look tidy.
On reassembly, return each group to its original location and check that the cover sits naturally before tightening. A remaining screw is a prompt to revisit the photographs and instructions. It is not a reason to choose the nearest empty hole. A wrong-length screw can bottom out or contact a hidden component even when its thread appears to fit.
Flat on the bench or attached to a steel surface?
A tray that attaches to a steel trolley can free up bench space. Choose a clean, stable area where you can see the contents and where opening a drawer or moving the trolley will not knock them. A vertical mounting position may be convenient for strongly magnetic hardware, but loose clips, weakly magnetic fasteners and stacked parts can still fall.
Check the underside before putting a tray on a finished surface. A rubber-covered magnet is helpful, but trapped grit or a sharp metal chip can still scratch paint. Lift the tray away when repositioning it rather than dragging it across the panel. If the item matters cosmetically, use a protected work surface instead of treating the tray's coating as a guarantee.
Avoid placing loose magnetic hardware directly beside exposed electronics, delicate instruments or an open mechanism. The most immediate risk is often a conductive screw falling where it should not, not a dramatic magnetic failure. Work on disconnected equipment as its instructions require, and keep the tray outside the area where a dropped part could enter a fan, opening or circuit board.
When a different container does the job better
| Situation | Useful storage choice | Why |
|---|---|---|
| A handful of steel nuts during a short repair | Magnetic tray | Easy to see and pick up |
| Several screw lengths that must keep their positions | Labelled compartments or screw map | Separation survives movement |
| Plastic clips and rubber seals | Small nonmagnetic container | Physical sides retain them |
| A repair paused until next weekend | Labelled container with a lid | Contents remain enclosed |
| Oily parts that need cleaning | Suitable cleaning container | A parts tray is not automatically a solvent bath |
Deal with the mess before the next job
Metal swarf is particularly annoying because the magnet holds it exactly where your fingers need to go. Remove the main parts, then clean the tray using a method suitable for its surface and underside. Avoid sweeping a bare finger through fine chips. A soft brush or a cloth handled carefully can help gather debris without turning the rim into a cutting hazard.
The everyday test is whether the tray makes the repair easier to follow. If you repeatedly dig through a deep pile, use another tray or separate the assemblies sooner. If parts keep falling, change the placement or use a lidded box. For examples of the basic shape and capacity, see 3″ 4″ 6″ Magnetic Tray. Choose enough visible space for the current job, rather than assuming a larger pile means a better system.
Frequently asked questions
Will a magnetic parts tray hold aluminium screws?
Normally no. Use a container that physically retains them. Test unfamiliar fasteners individually instead of assuming every shiny metal part will stick.
Can I leave screws in the tray overnight?
For a short, undisturbed job that may be convenient. If people will move the work or the repair is paused, transfer the parts to a labelled container with a lid so their location and identity are preserved.
Why does my tray stick to the trolley but not hold a particular washer?
The trolley and washer may be different materials. A washer can be nonmagnetic or only weakly magnetic even though the tray attaches firmly to ordinary steel.
Is a rubber base safe on a painted car panel?
It reduces direct contact but cannot prevent scratches from grit trapped underneath. Clean both surfaces, avoid sliding the tray, and use a separate protected surface when the paint finish matters.
Do I need one tray for every fastener size?
No. Separate by what will help reassembly: the component, location or removal stage. A few labelled groups are usually more helpful than sorting everything by size and losing its original context.